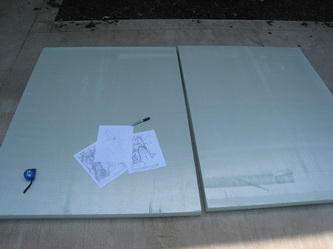
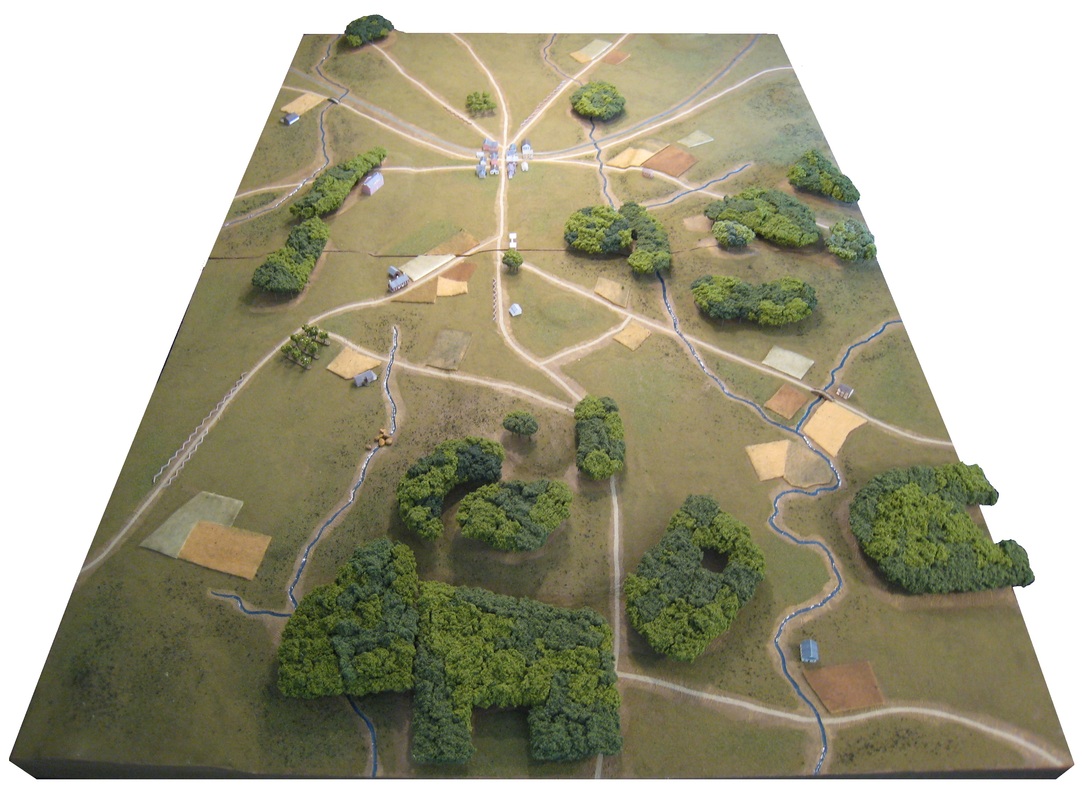
Phase #1: Laying the GroundworkAny custom table requires initial planning, but larger tables like this one take some special forethought. How large of an area do you want to cover? I immediately opted to go big and include additional room for battlefield maneuver at the southern and eastern edges of the map. At a scale of 1"=150 yards, my table would need to be at least 8'x5' in size. That meant I needed two boards so I could fit this thing into my car for transport.
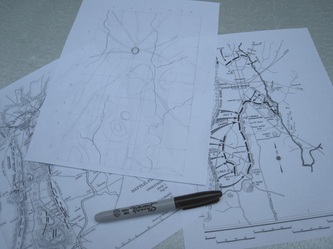
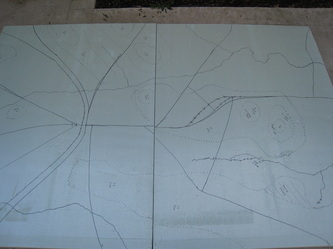
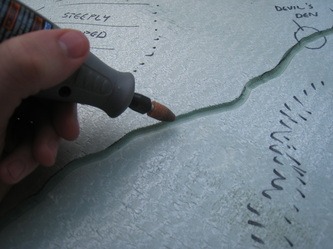
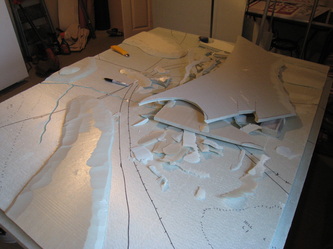
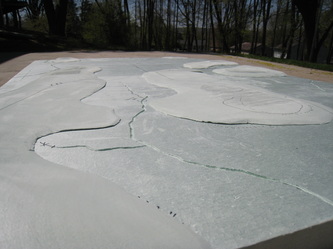
After selecting two historical maps of the field, I drew my own scale version. Then, using a black marker, I outlined the main features onto the base layer of the table. I like to use 2" thick polystrene (insulation board), since it's thick enough to be sturdy, but soft enough to carve with a knife. Once you have the base layer marked (roads, rivers, hills, etc), begin carving the rivers and creeks with a Dremel. |
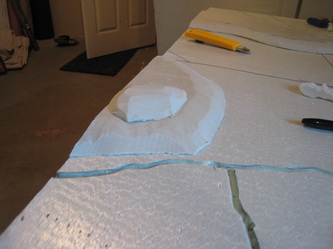
Phase #2: Those Round TopsReliable maps of the battlefield should include topographical elevations. Many of the most famous landmarks at Gettysburg revolve around controlling the high ground--Oak Hill, Culp's Hill, Cemetery Hill, and Cemetery Ridge. Oh, and Little Round Top. Perhaps you've heard of it.
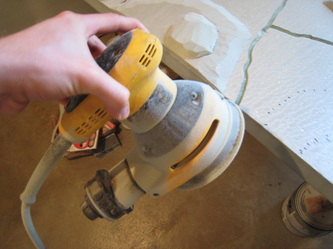
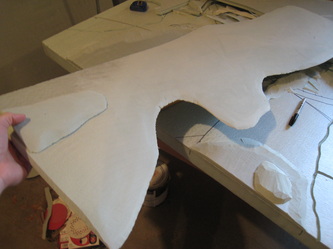
Basically, if you're going to refight Gettysburg, you'll need to represent lots of rolling hills and modest peaks. I chose to use 1/2" insulation board, carved with a hobby knife. To smooth the edges and achieve a uniform look, take a power sander with fine grit sandpaper and go to town. Just make sure you're working in an area where dust can fly. |
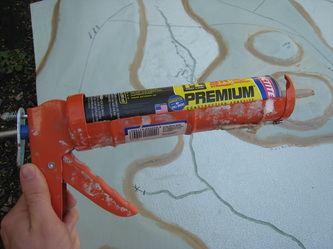
Phase #3: Assembling the Puzzle PiecesTo be honest, it took me a few hours to cut, size, and power sand the hills. For adhesive, I prefer using liquid nails, a construction-grade glue which comes in caulk tubes. Apply liberally and allow your hills to dry. To further mask any seams, apply another thick bead of adhesive around the edges of all hills and smooth this out nicely.
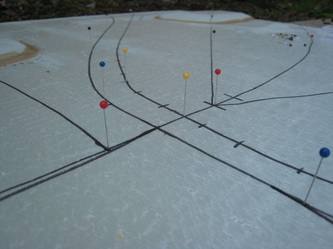
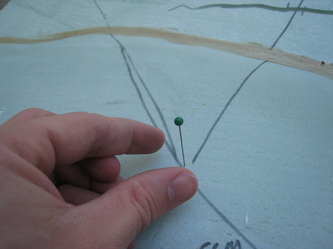
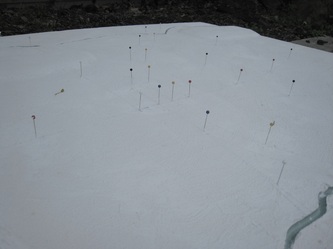
Now for some forethought--how will you see the roads after texturing and painting the table? Good question. I stuck pins at every road intersection and spaced them along the roads to serve as a future marker. In the next section, you'll understand why. |
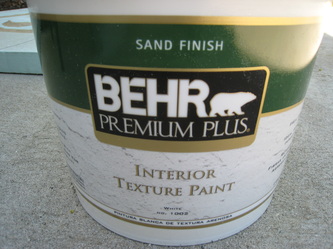
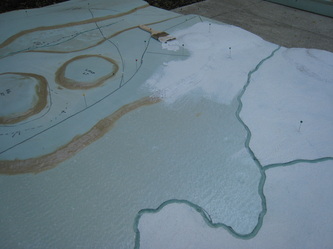
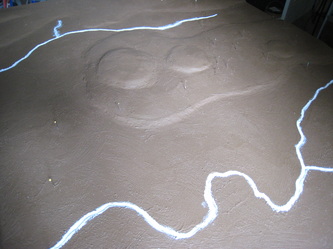
Phase #4: Textures & PaintI've built many tables and never found a fully satisfactory answer to this question: What is the best way to texture a war-gaming table? On my Shiloh table, I used my paper towel method. Previously, I've also used sand. This time I tried something different and "painted" the table with textured interior paint designed for ceiling applications.
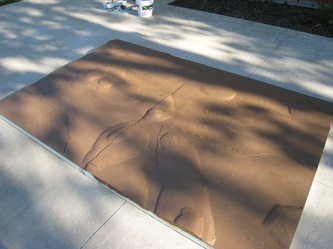
The textured paint rolls on quickly and covers the table evenly. It hides seams and imperfections very well. My only concern is long-term durability and possible chipping of the texture. Only time will tell if this is a problem, but so far so good. You can see the pins marking the roads underneath, which will later serve as a guide for how to paint the road network. When the texture dries, paint the entire table dark brown. |
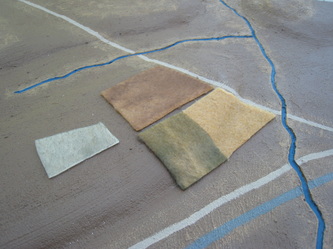
Phase #5: Bringing the Table to LifeThe heavy lifting is now complete and it's time to bring the table to life. Start by filling in all streams and rivers with a bead of latex caulk. Then lightly dry-brush your dark brown base color with a lighter shade of brown. Maybe two different shades if you're feeling ambitious. By now the caulk should be dry enough to paint your water features. I chose a traditional blue, even though brown or green is more accurate for how water actually appears in real life. Oh well...I just like blue.
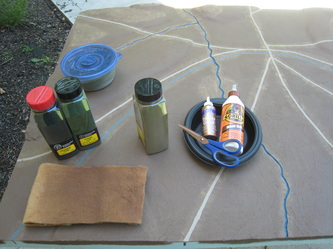
Painting the roads is time-consuming, as you will need to carefully remove one pin at a time and retrace your extensive road network. I use a 1/4" wide flat brush for roads. For the railroad cut, I painted it gray in order to stand out and appear different. Before flocking the grassy areas, I attached a few fields of fabric fur to enhance the look. |
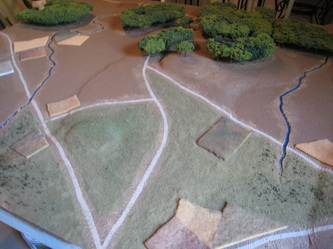
Phase #6: Final DetailsAfter the flocking is complete, the table is pretty much ready for battle. I enhanced mine by adding very small scale model train track to show the rail lines heading into town. You could also glue a few pebbles to reflect Devil's Den--a very famous landmark.
The forest sections are modular and removable, and we have a photo tutorial for making forest canopies. The buildings are 3mm paper buildings, specifically designed for Gettysburg. You can download these buildings from the website. Check out our battle report, complete with video, right now! |
