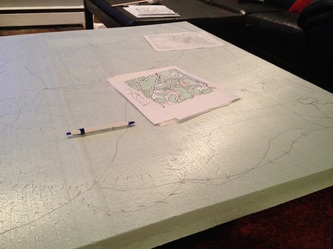
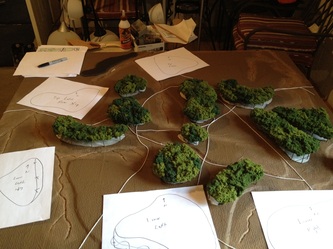
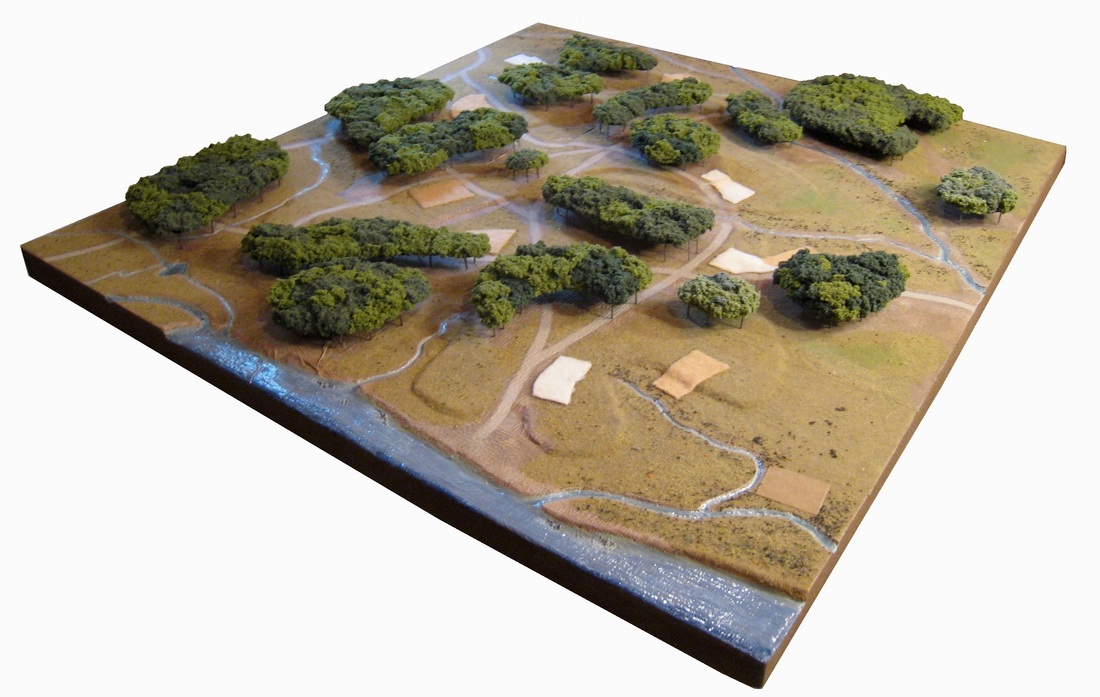
Phase #1: Laying the GroundworkBefore starting any sort of custom table, it's important to do some planning. Find several quality maps and use them to draw your own scale map of the field. Using a black marker, I drew the main features of my map onto the base layer of the table.
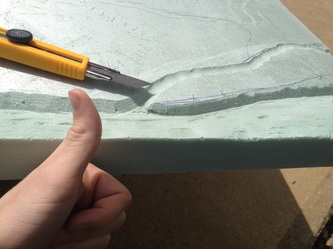
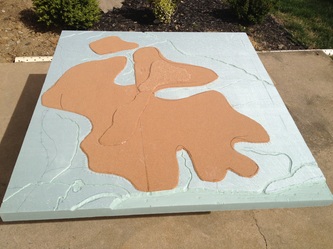
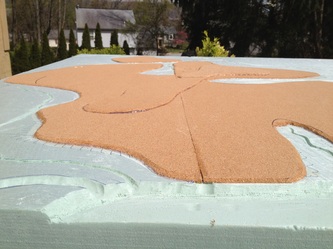
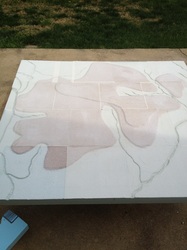
I like to use 2" thick polystrene (insulation board), since it's thick enough to be sturdy, but soft enough to carve with a knife. Once you have the base layer marked (roads, rivers, hills, etc), begin carving the rivers and creeks with a Dremel. To layer elevation on top of the base level, I used 1/4" cork board. This seemed to work reasonably well, since it's thin and easy to shape. The cork hills are glued down with a hot glue gun. |
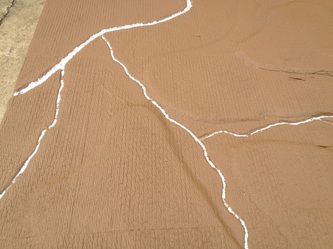
Phase #2: Adding some TextureWith the hills attached, it's time to add a uniform texture. There are various ways to do this--most people use sand. I prefer paper towels, since they are light weight and dry-brush nicely when painting.
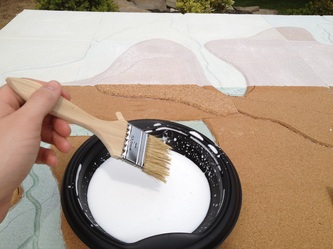
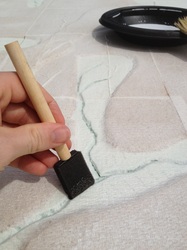
My paper towel method begins with watered-down glue. Paint sections of the table with the glue and apply the paper towels in full sheets. Adding more glue onto the wet towels helps smooth edges. You also have to press a brush into any creeks or rivers to ensure the paper towels follow the contours of the depression. Let the table dry overnight. |
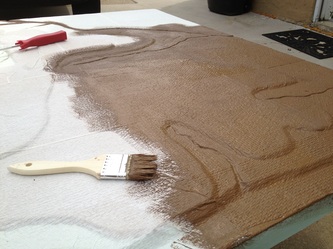
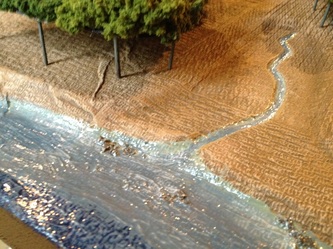
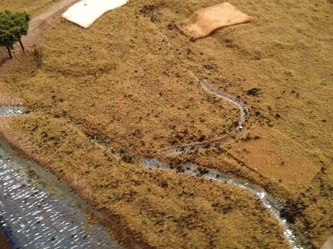
Phase #3: PaintingAfter painting the entire table brown, the rivers and creeks need to be filled in with "water," or in this case, latex caulk. Spread caulk into any waterways and run your finger over the surface to texture the effect of moving water. Use "paintable" caulk!
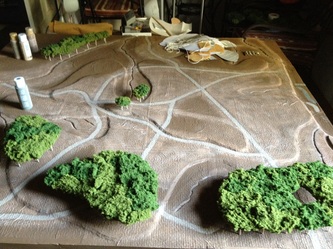
The next step is painting. If you used paper towels, you already have a nice texture that dry-brushes and highlights nicely with lighter shades of brown. I lay out string to mark my roads before I paint them. Finally, paint the water blue, green, light brown, or whatever color you think looks best. You can create a glossy sheen to the water by varnishing it with a high-gloss stain available at any craft store. |
Phase #4: Finishing TouchesI glued down several fields (teddy bear fur and berber carpet scraps) to represent crops. You wouldn't necessarily have to glue these down permanently like I did.
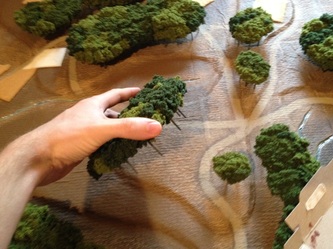
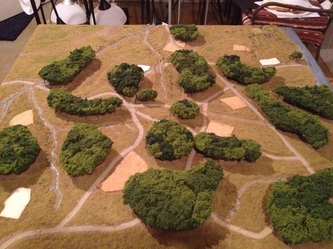
Flocking the table is the last step to finish the project. Spread watered-down glue over any areas you want to flock, then sprinkle your blend of grass. To mark the wooded areas, I chose to not spread any flock underneath my forest sections. These are modular canopy sections I use for all of my 6mm gaming. If you'd like to see how they're made, check out the photo tutorial here. |
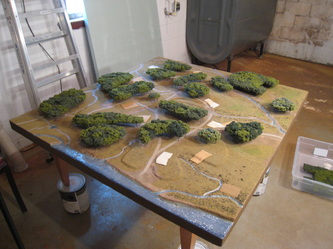
Phase #5: Play the Game!Our 4'x4' Shiloh tabletop is ready for action! All that's left is to round up some friends, deploy the miniatures, and refight this incredible battle to commemorate the 150th anniversary.
If you haven't done so already, check out the After Action Report from our game. And when you're ready to play the battle for yourself, you can download the official Altar of Freedom Shiloh scenario absolutely free. |
