Phase #1: the Problem of 6mm Pine TreesOur 6mm forest tutorial is, by far, the most popular page on this website. And while I have been very pleased over the years with this method for creating 6mm forests, I've long sought a way to create stands of tiny pine trees. Pine forests were a common sight on American Civil War battlefields and clearly look much different from their deciduous cousins. This is a step-by-step photo tutorial showing how I chose to do it.
|
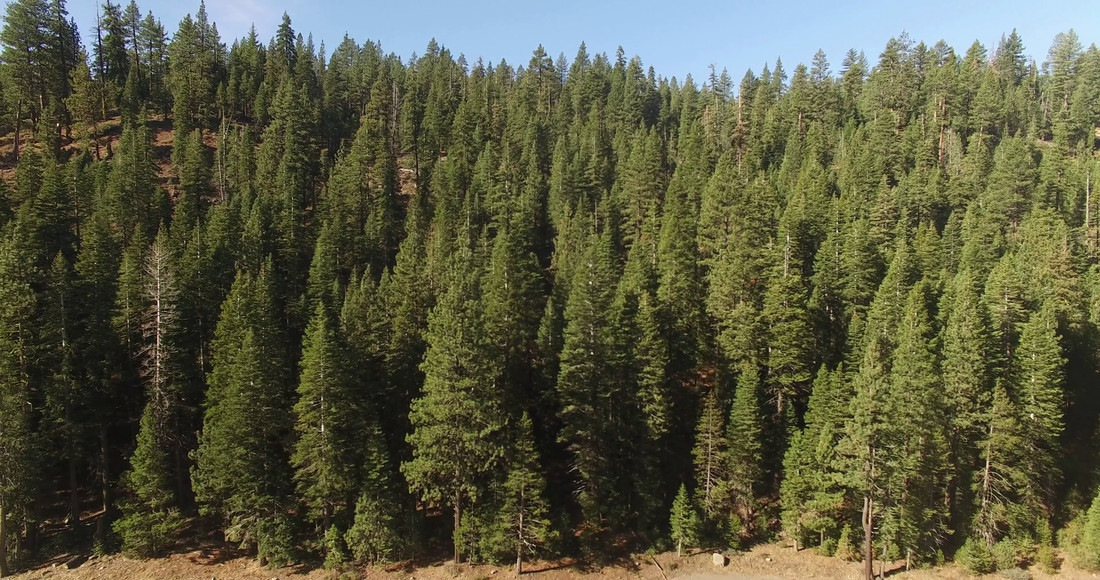
How can dense pine trees be created cheaply in 6mm?
|
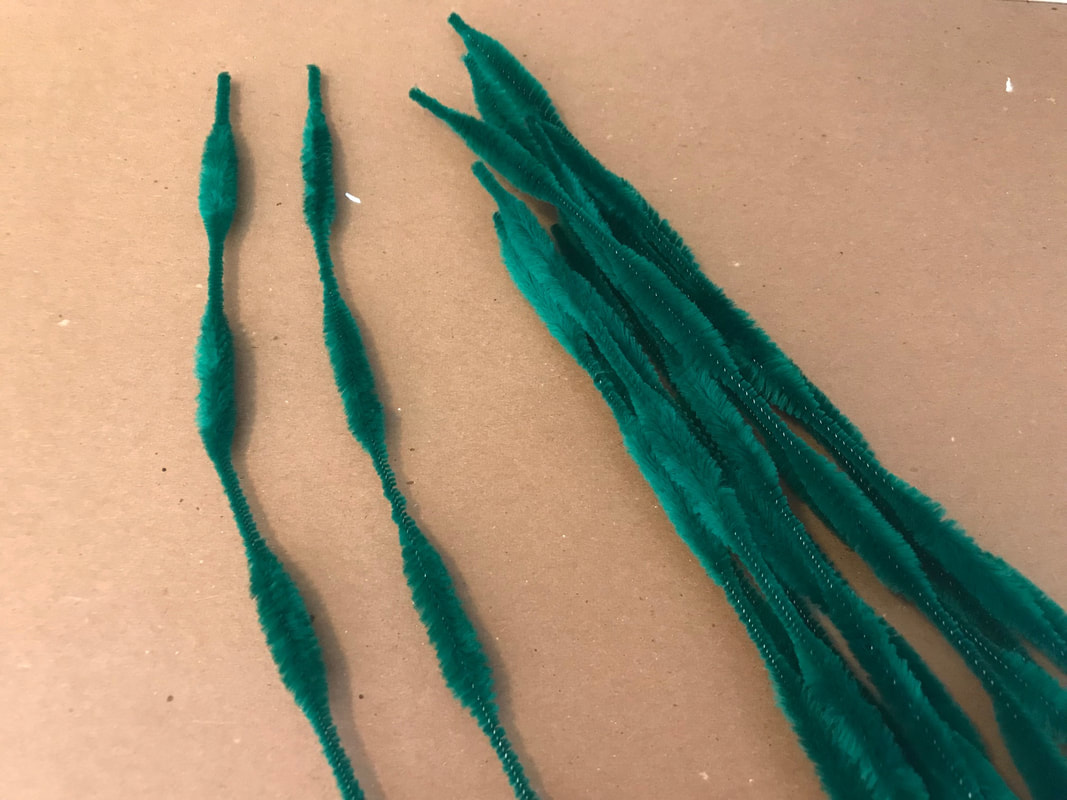
Phase #2: Pipe CleanersPipe cleaners are the basic building block of this DIY terrain project. Specifically, you'll need the bump chenille stems. I bought mine on Amazon in a bag of 100 stems for under $8. Here's the link (it works as of June 2018!). If you want "live" trees buy the green stems, and if you'd rather create dead or sickly pine trees, they also offer dark brown.
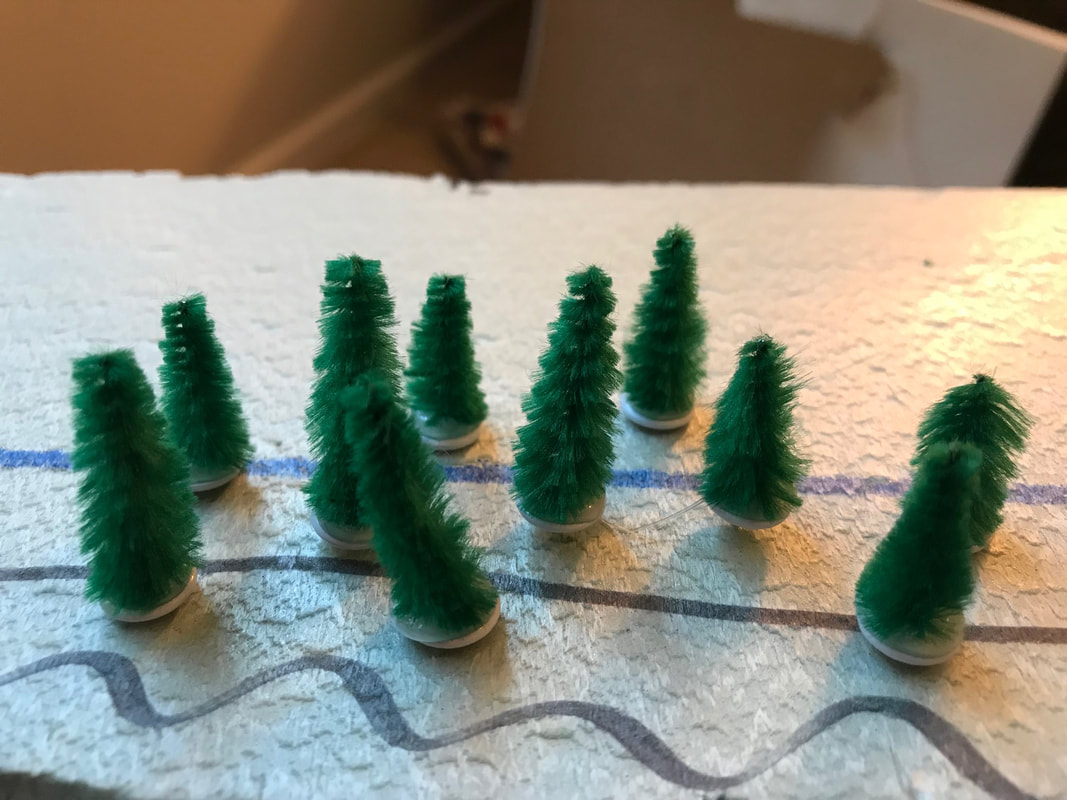
With the pipe cleaners in hand, fluff them up (they get a bit crushed in the packaging), and start cutting the bumps into tree sections. For taller trees, a single "bump" cut in half yields two trees, but for maximum yield, I like cutting each bump into three sections--the middle section does require angled trimming with scissors to cut a pointy top. Pro Tip: you can even use some of the thin sections cut into very short pieces as "saplings" or young pine trees. |
|


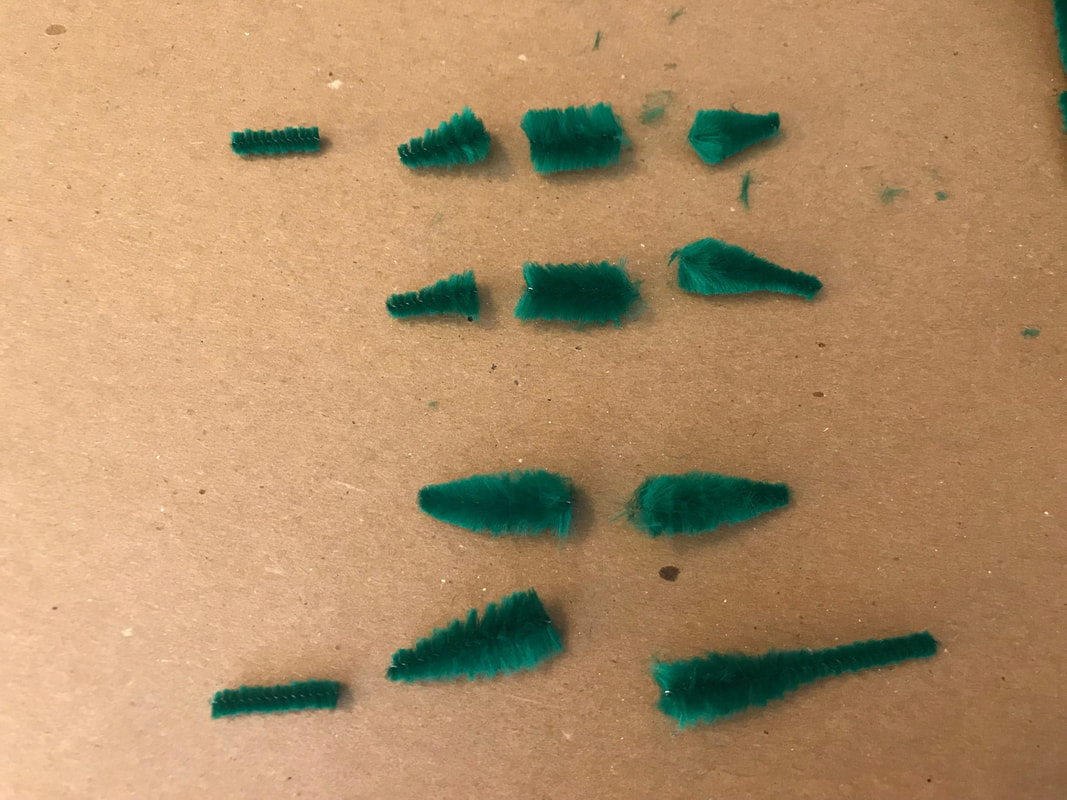
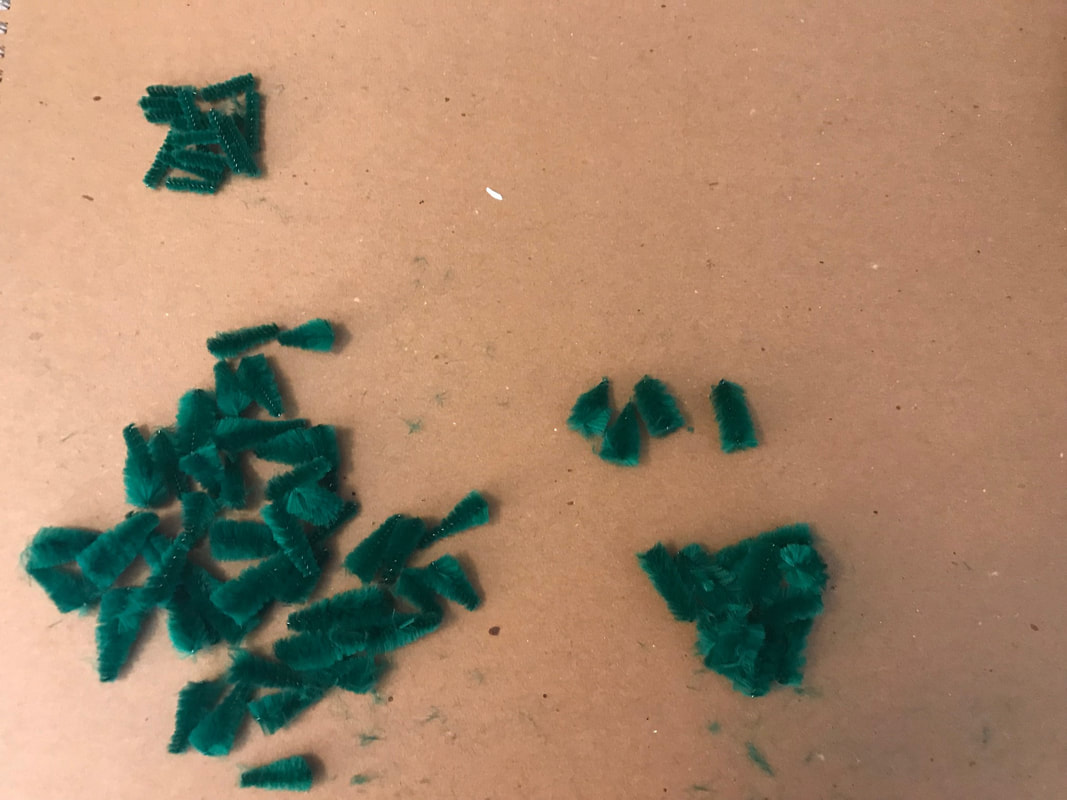
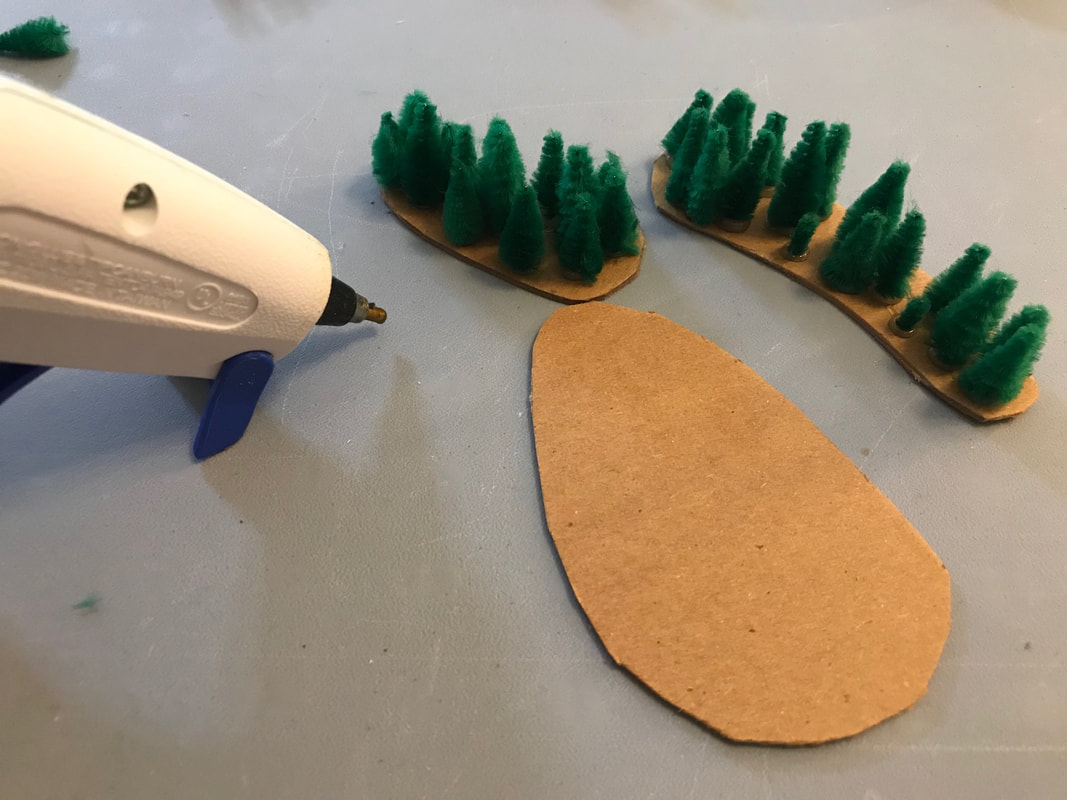
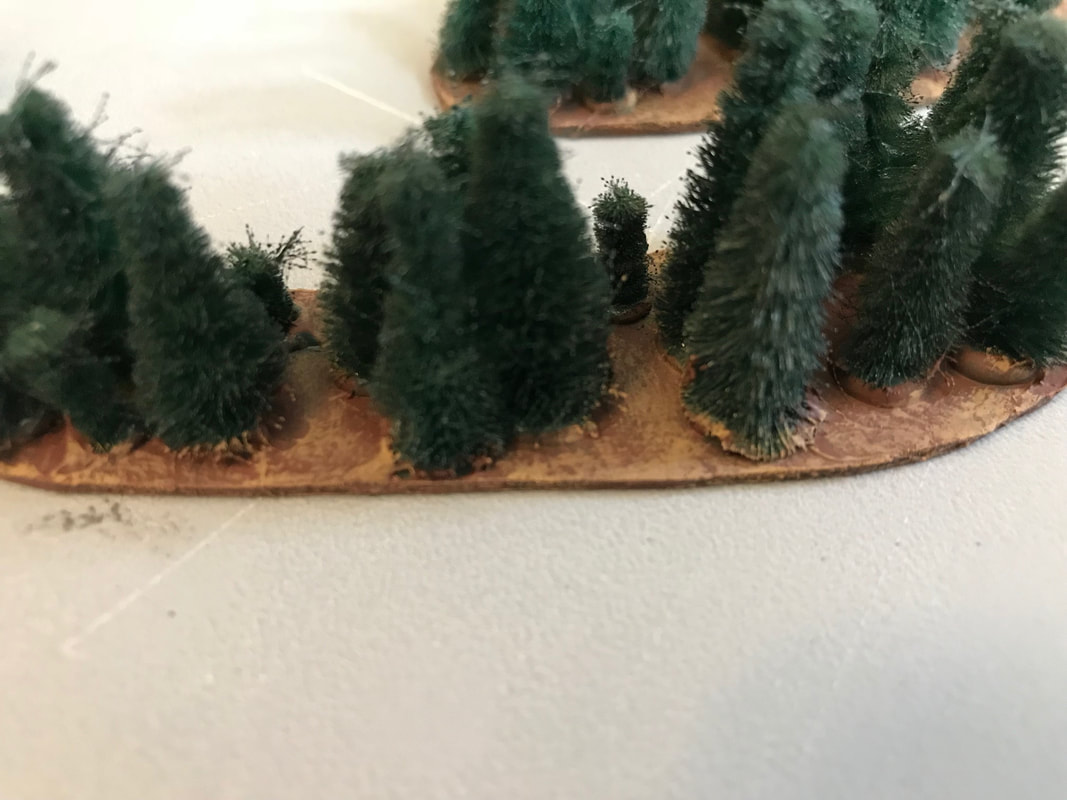
Phase #3: Putting it all TogetherA single stem from your pack of 100 can be cut into 8-12 mini pine trees, plus some saplings. After cutting up several stems, sort them into sizes (makes the hot glue process faster if you've pre-sorted your trees) and warm up a hot glue gun.
While the glue warms, cut out some irregular base shapes for the forest sections. I use a very heavy cardboard that comes as the back of an art paper pad, but you can use any basing material you see fit. Just remember not to use anything too thin or it will warp after glue and paint are applied later. Then the easy part. Dab out some glue and start sticking trees down. Apply a generous dab of hot glue to ensure a snug fit for each pipe cleaner tree. |
|


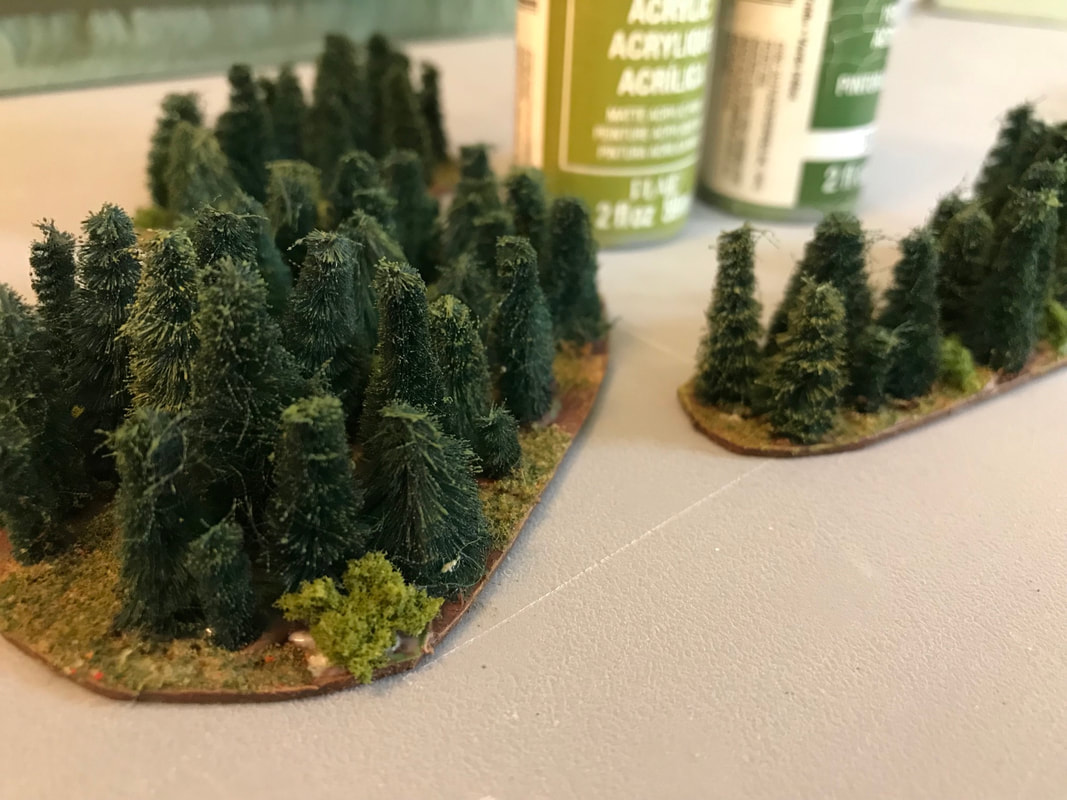
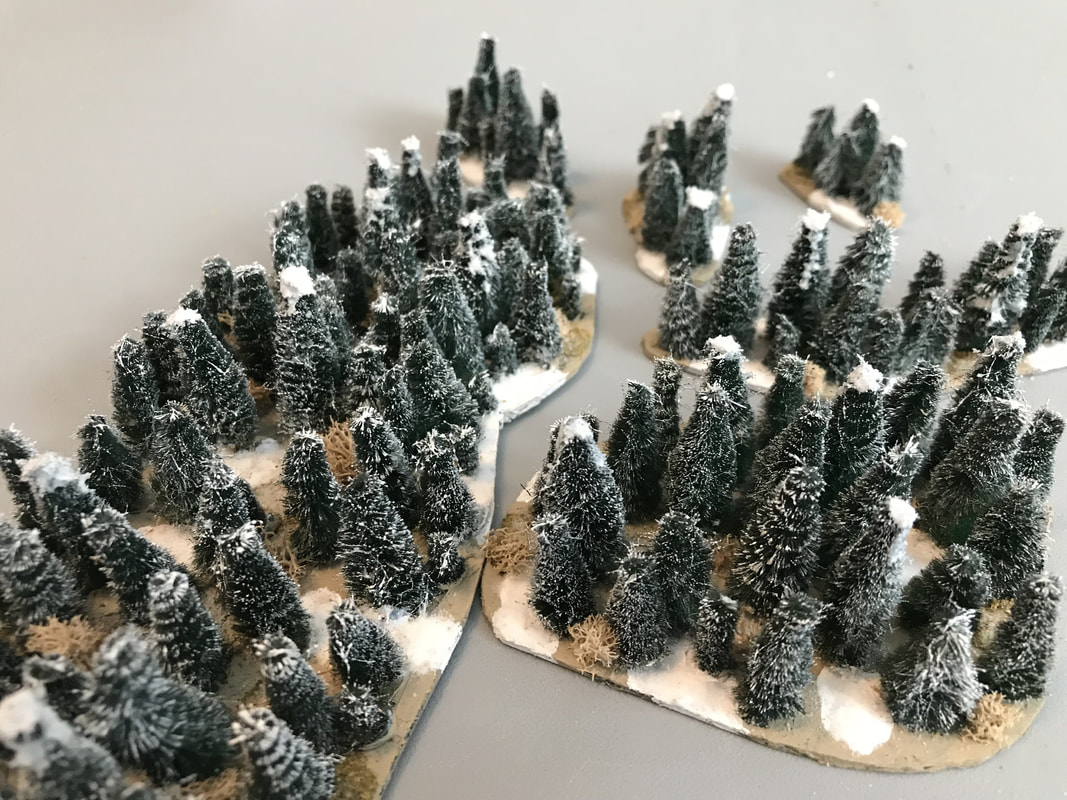
Phase #4: PaintingTake all of your sections outside and spray paint them a suitably dark green color. The natural green of the pipe cleaners is far too bright and unnatural, but if some shows through your spray paint coat, at least it's still green!
Now that your trees and base are spray painted, paint the exposed base brown. I also do a quick highlight with a second, lighter shade of tan. This can be sloppy, fast work because you'll eventually be flocking the base. Next, take a couple shades of green and do a quick highlight or dry-brush on the pine trees. I even brushed a few of mine with a brown color to look "dead". You can then finish the project by flocking parts of the base with grass or adding some Woodland Scenics clump foliage to help these pine trees blend in with your deciduous forests. |
|

Phase #5: Other PossibilitiesI also wanted some loose, individual pine trees for my table, so I used this same process but hot glued the trees to round thumbtacks. Because much of my terrain "pins" into my tabletop, these push pins easily stick into my ground cloth and look fantastic sprinkled around the tabletop for added decoration.
As noted earlier, you could also use different color pipe cleaners, or simply paint them a different color to do winter pine forests. I made a number of these for my WW2 microarmor games, but they can be used in any period of history. Overall, this is a very budget-friendly option to create 800 to 1200 trees for under $10. |
|
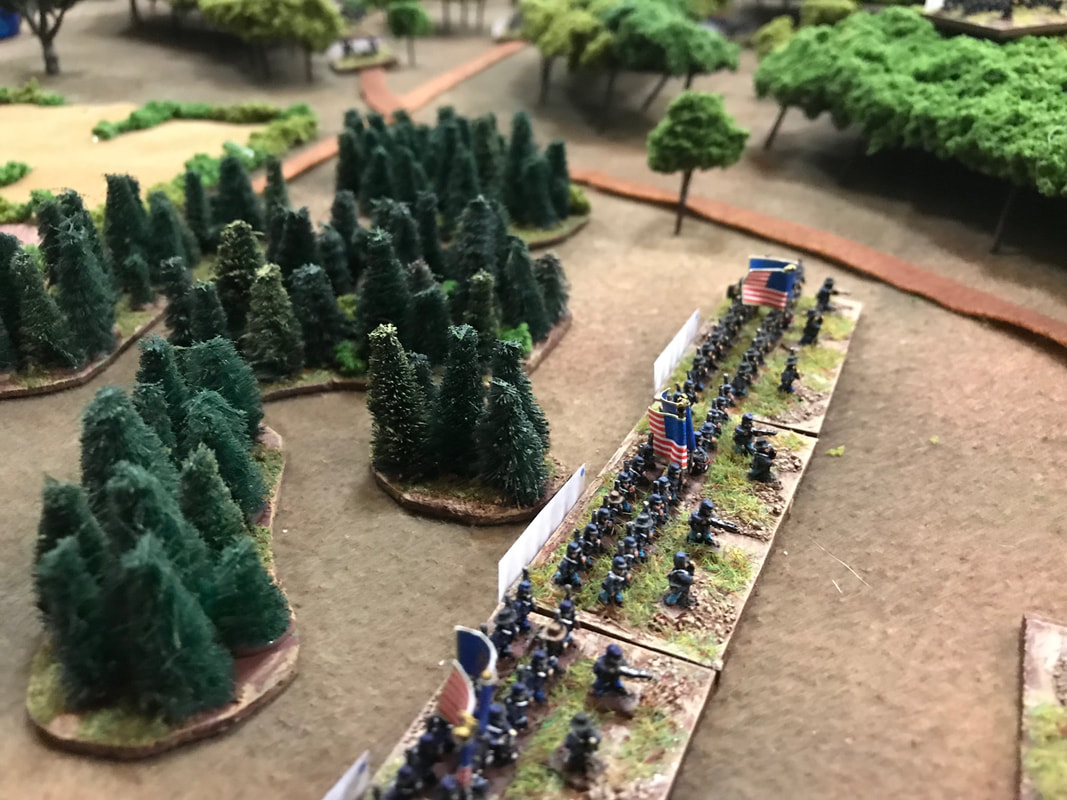
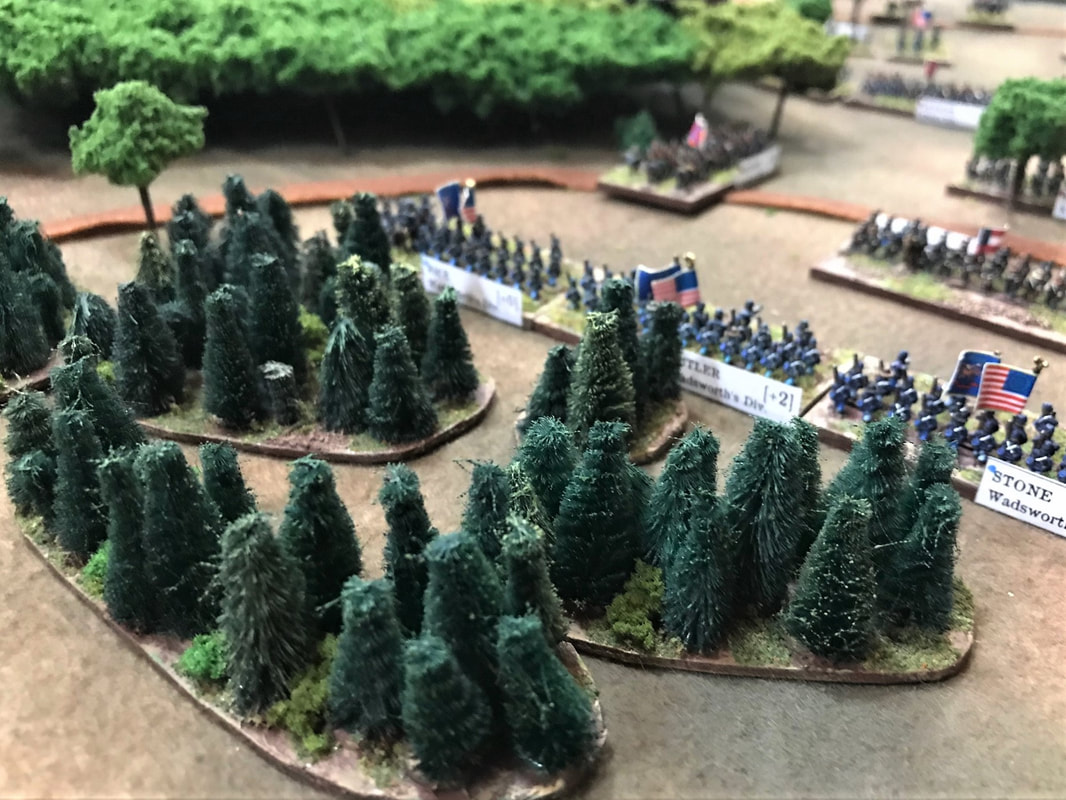
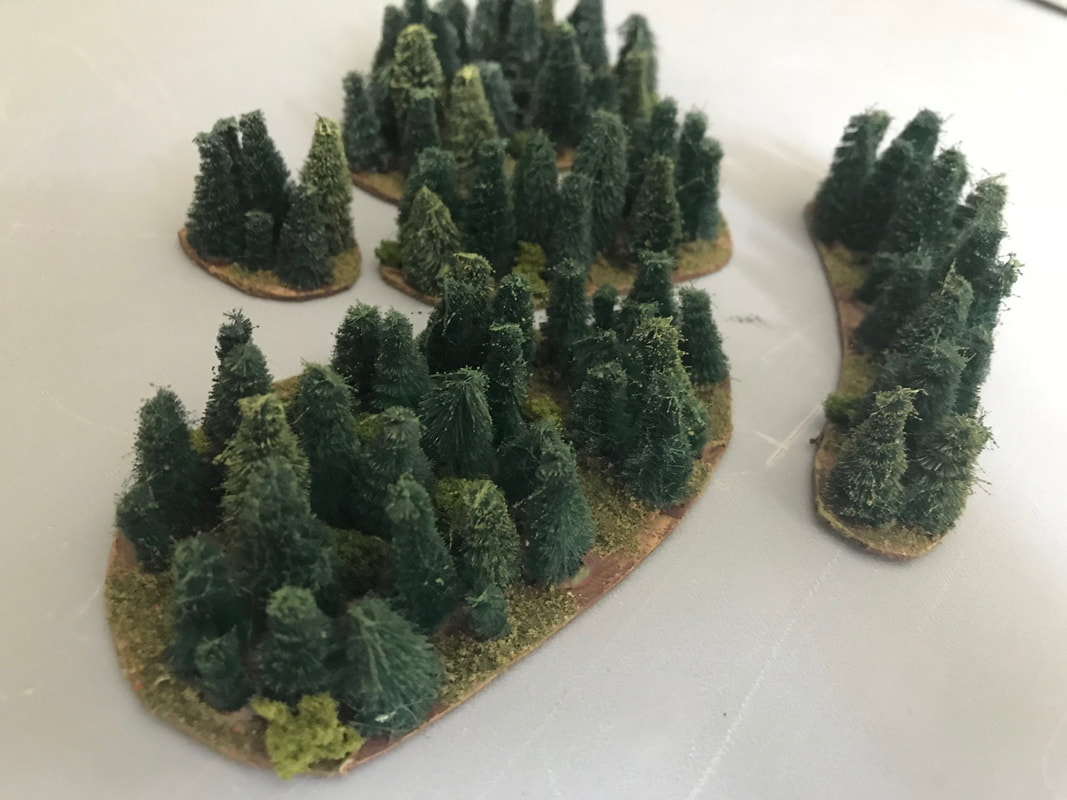
There is one obvious disadvantage to these pine tree sections, as opposed to my forest canopy method--you can't slide miniatures neatly underneath the pines in the same way. There are two ways you can go about addressing this challenge: (1) Cut all of your pine trees to the same height, and bases of miniatures can rest on top as they move through; (2) Cut sections of felt to match the size and shape of the pine forest sections, and as units enter the forest, you can remove the pines as needed.
Personally, I use method #2. This is why my pine tree base sections are smaller, allowing me to re-position them more easily to accommodate miniatures.
Personally, I use method #2. This is why my pine tree base sections are smaller, allowing me to re-position them more easily to accommodate miniatures.
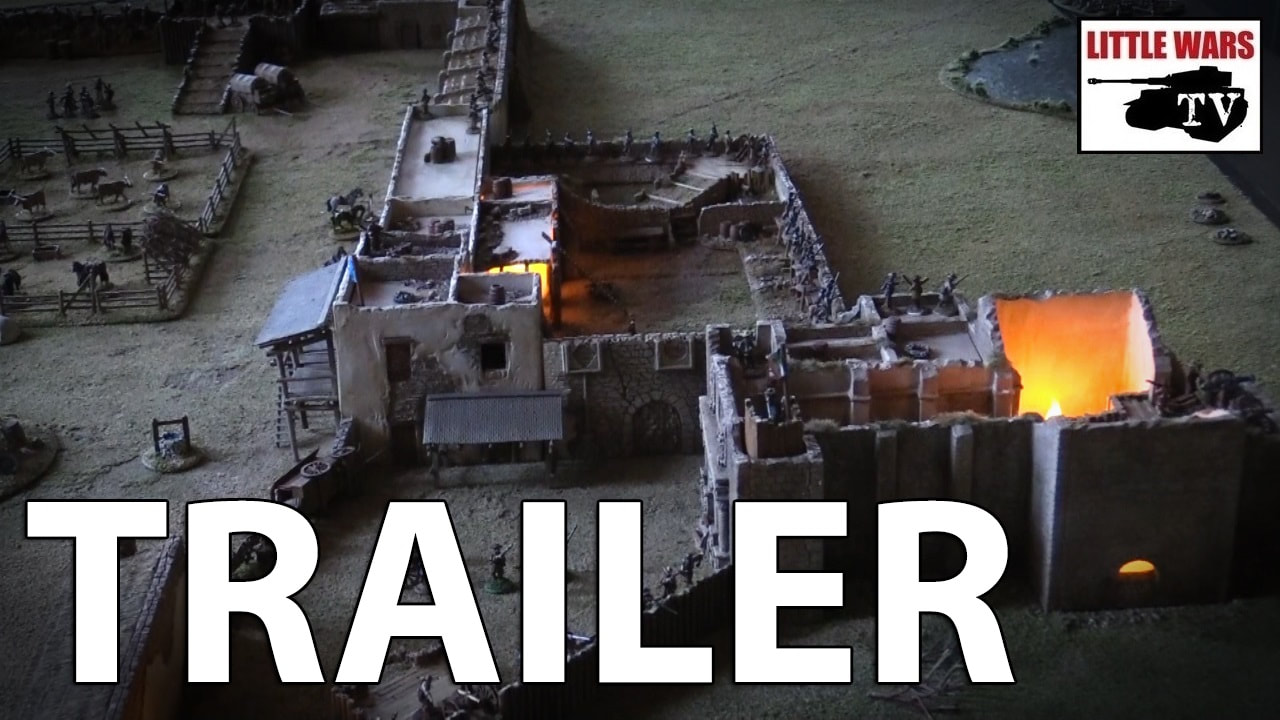
IF YOU ENJOY OUR TERRAIN TIPS, DON'T MISS THE NEW YOUTUBE SERIES,
LITTLE WARS TV, A CHANNEL DEDICATED TO HISTORICAL MINIATURE WARGAMING!
CLICK BELOW TO WATCH THE EXCLUSIVE TRAILER!
LITTLE WARS TV, A CHANNEL DEDICATED TO HISTORICAL MINIATURE WARGAMING!
CLICK BELOW TO WATCH THE EXCLUSIVE TRAILER!
|