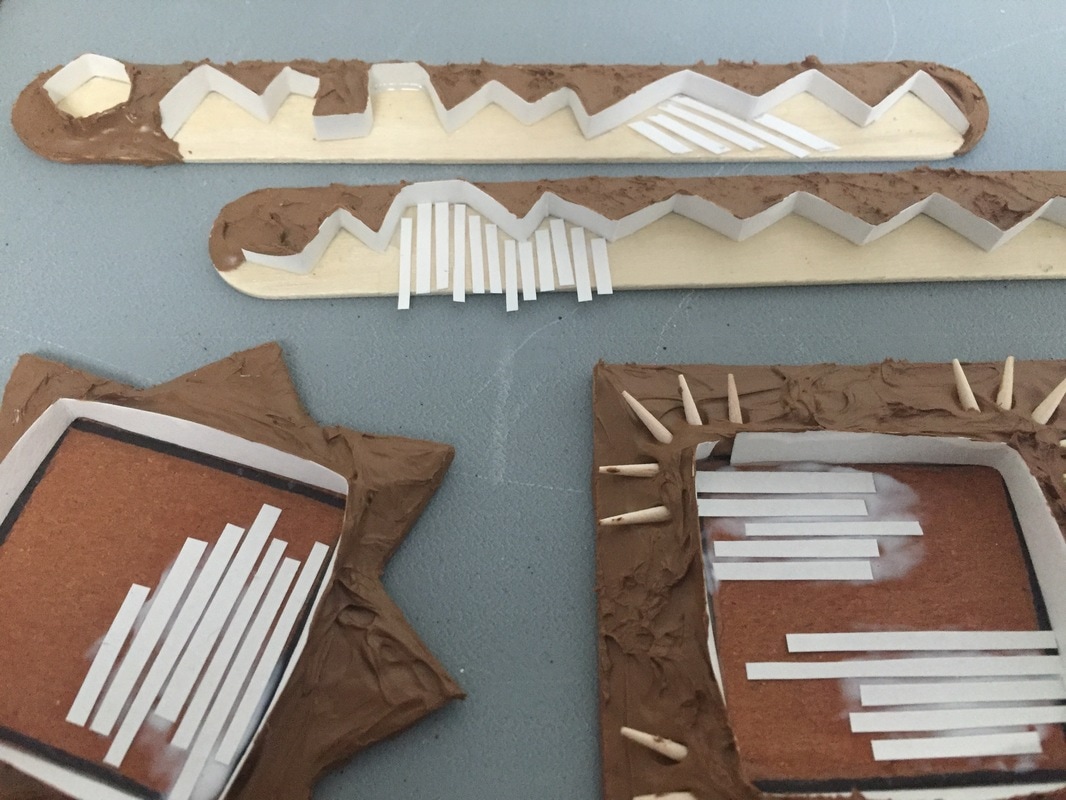
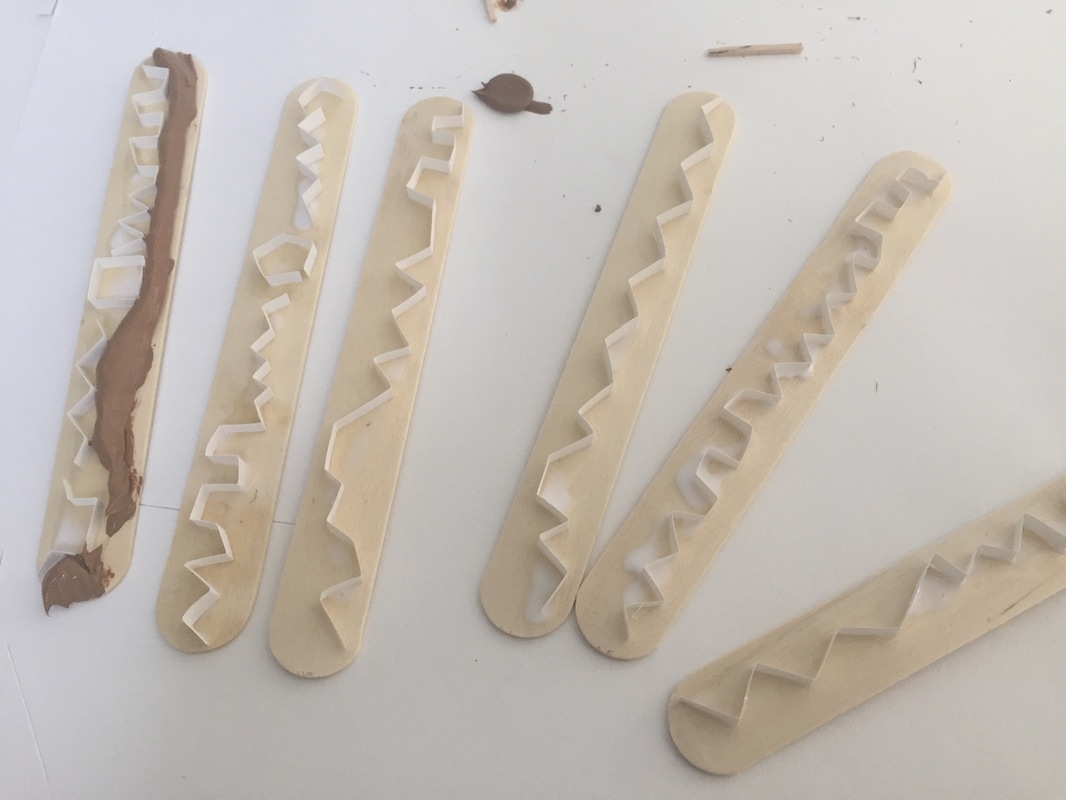
Phase #1: Base LayersTo start, you're going to need to choose a suitable basing material as the foundation for your 6mm fortifications. There are a number of options here, including balsa wood, heavy cardboard, or basswood. Beware not to use anything too thin that will warp, such as cereal box cardboard. My own top choice is heavy cardboard for the forts, and wide popsicle sticks for my entrenchments.
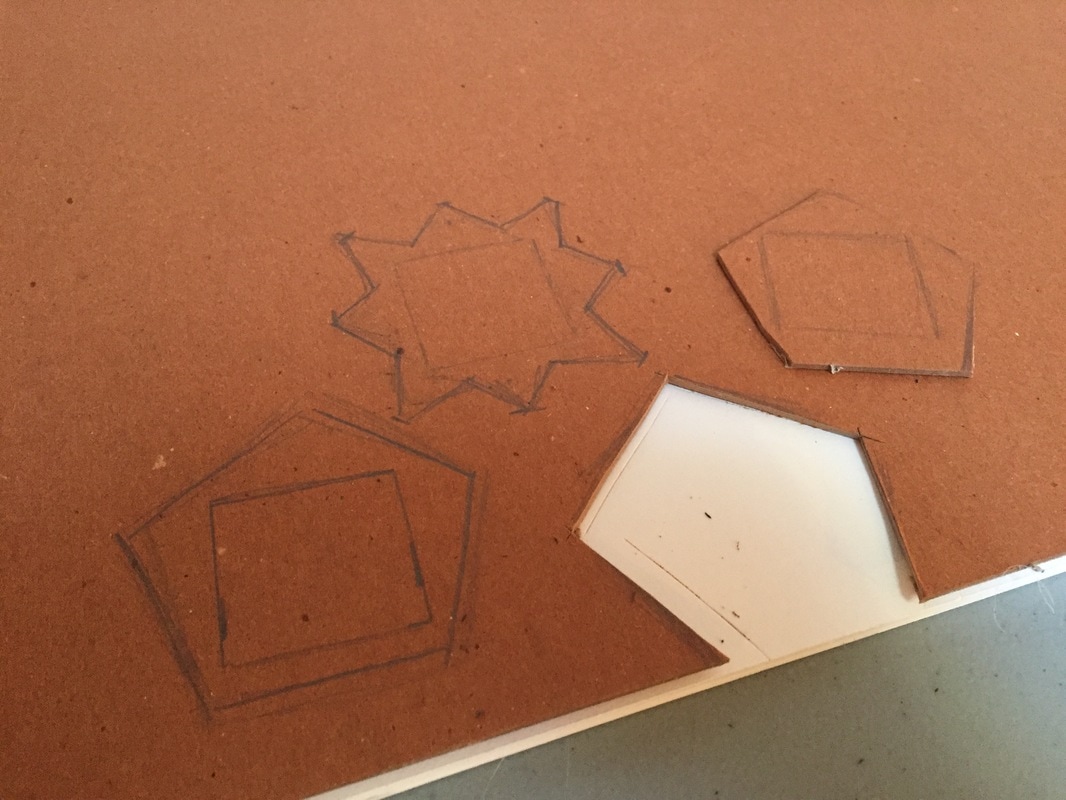
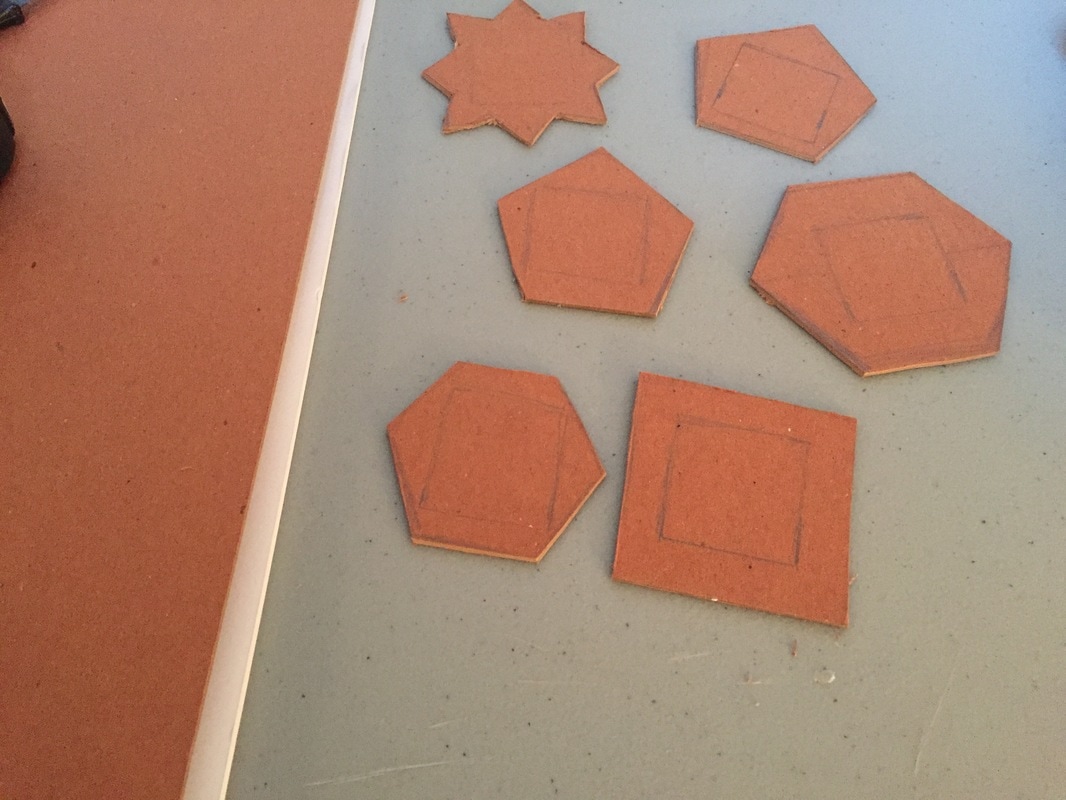
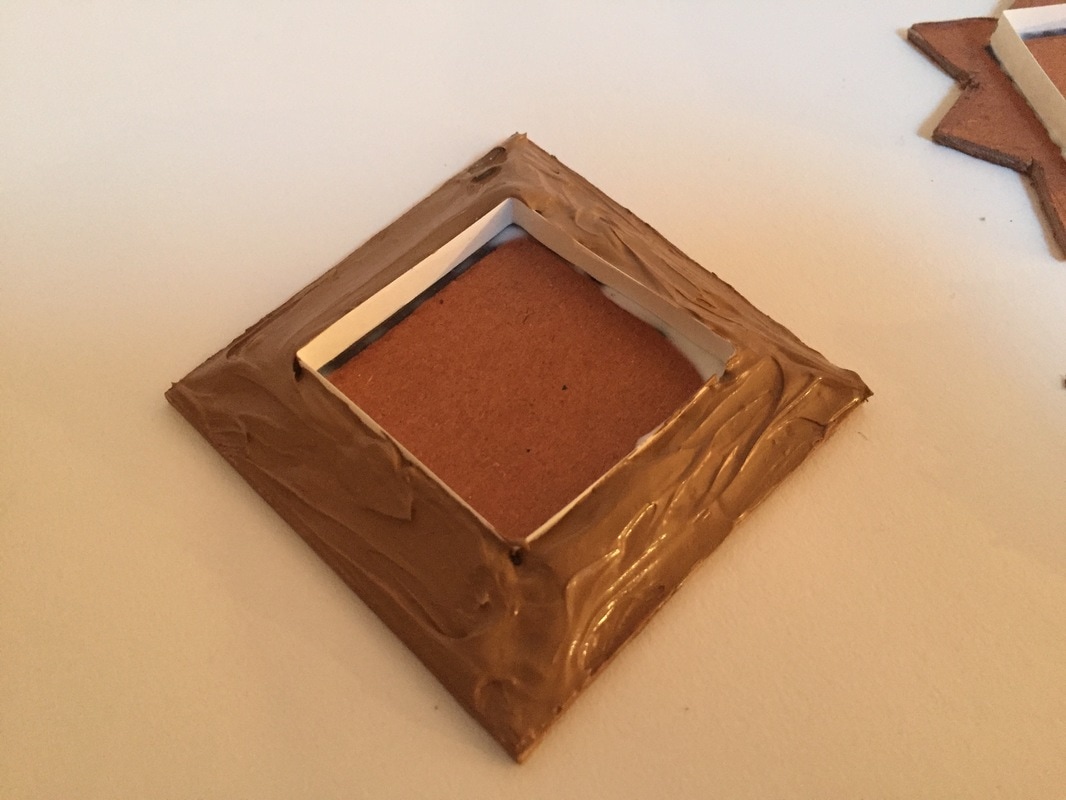
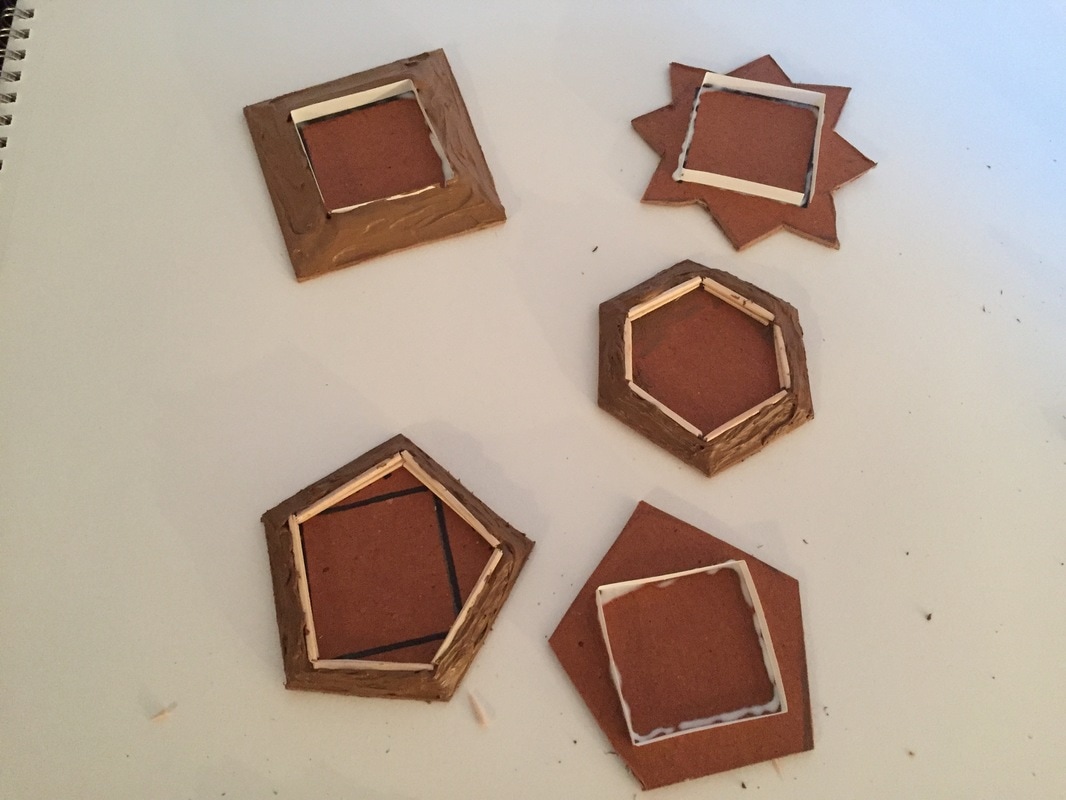
There are plenty of shapes you can use for Civil War forts, including stars, pentagons, or hexagons. Some of the forts built at Petersburg were simply square in shape. All of my forts are just large enough to hold a single base of artillery, so you should scale yours appropriately for your miniatures. |
|

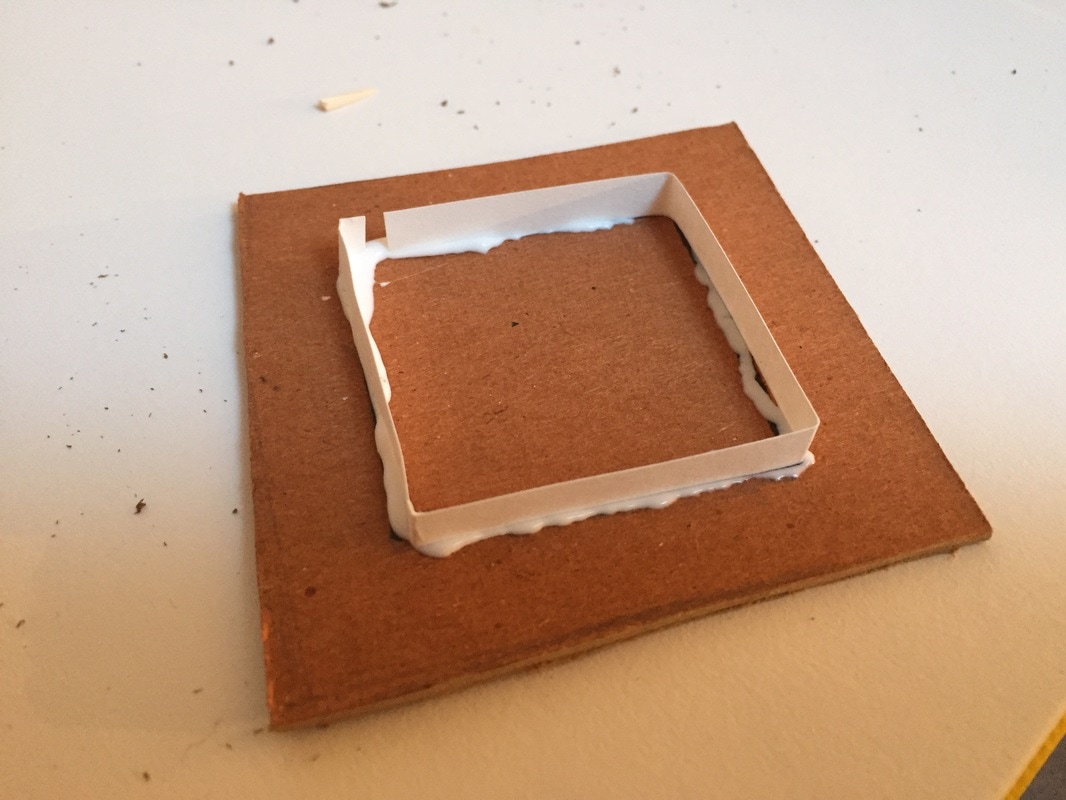
Phase #2: AssemblyAdditional materials required for this project include paper (preferably a heavier stock), glue, latex caulk, and toothpicks. The first step in the assembly process is a cut out thin strips of paper, less than 1/4" wide, and fold them to create the interior dimensions of your forts. For entrenchments, irregular zig-zag patterns look best. I use a thick, tacky glue to attach the paper to my basing, as it dries within 15 minutes.
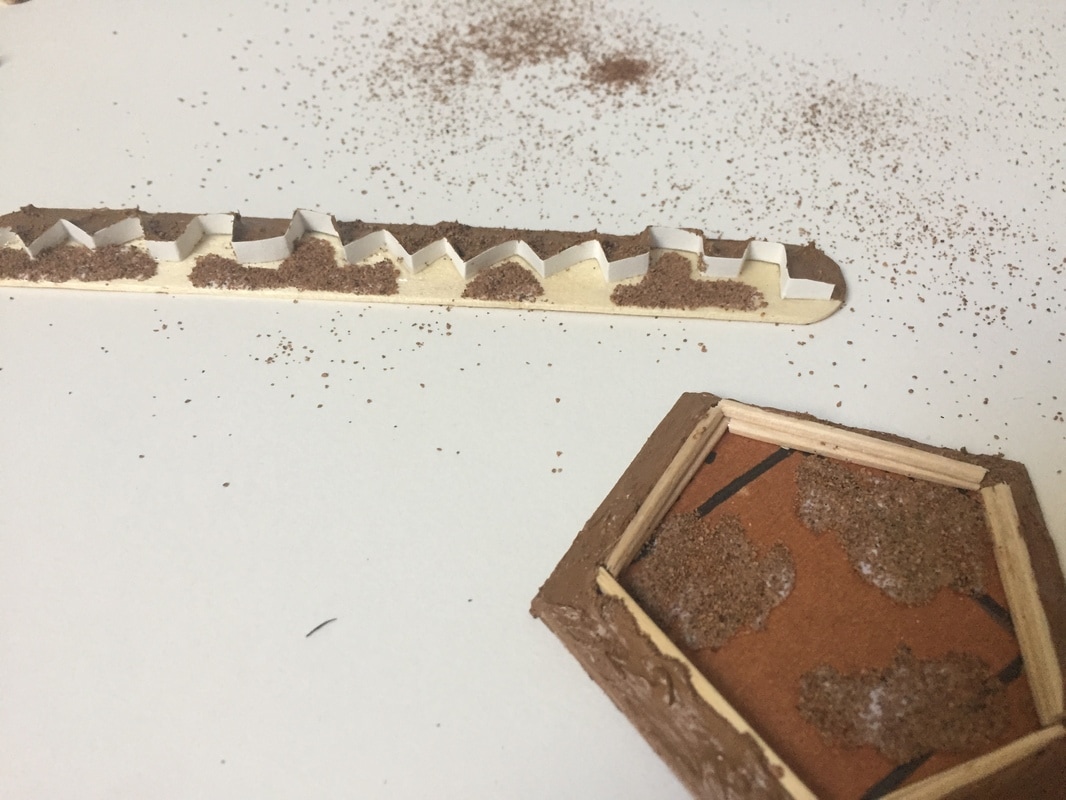
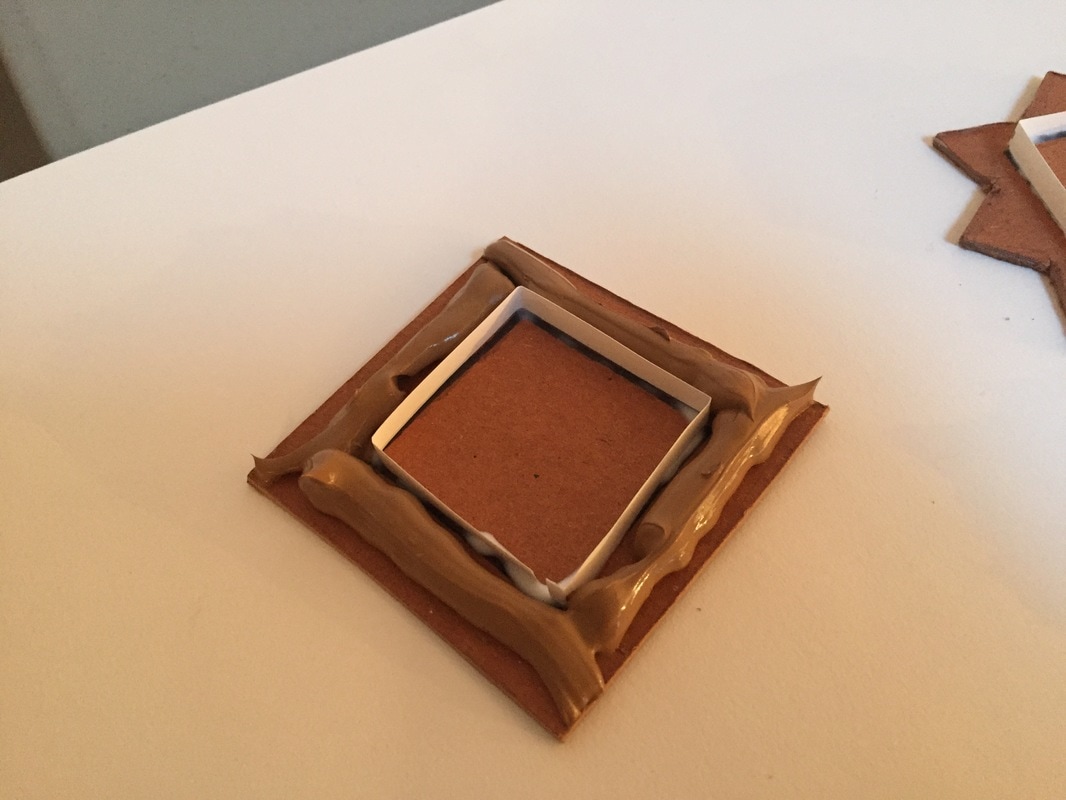
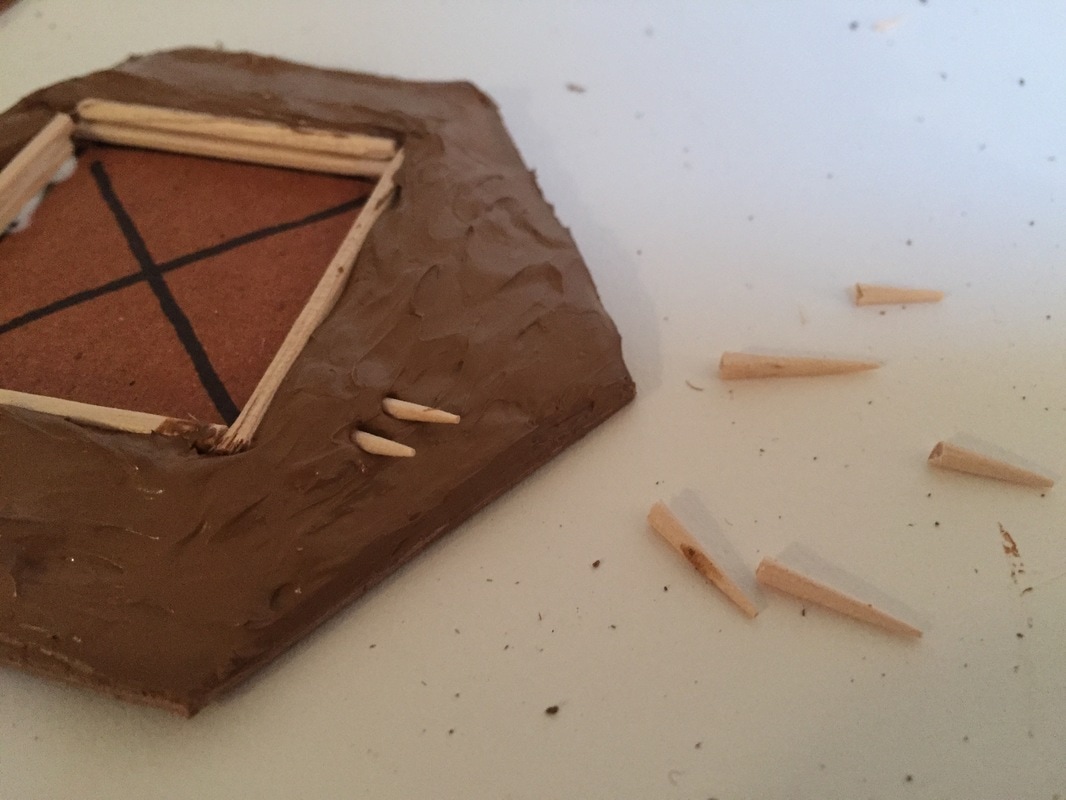
Once the glue is dry, spread some latex caulk against the paper to represent mounded dirt. For forts, the caulk should be spread around all four sides. For entrenchments, I only spread the caulk against one side, creating the look of a trench on the other side of the paper. While the caulk is still wet, you can break off bits of flat and round toothpicks and press them into the caulk. When you eventually paint the fortifications, these toothpicks will look like piled logs or an abatis around the forts. |
|
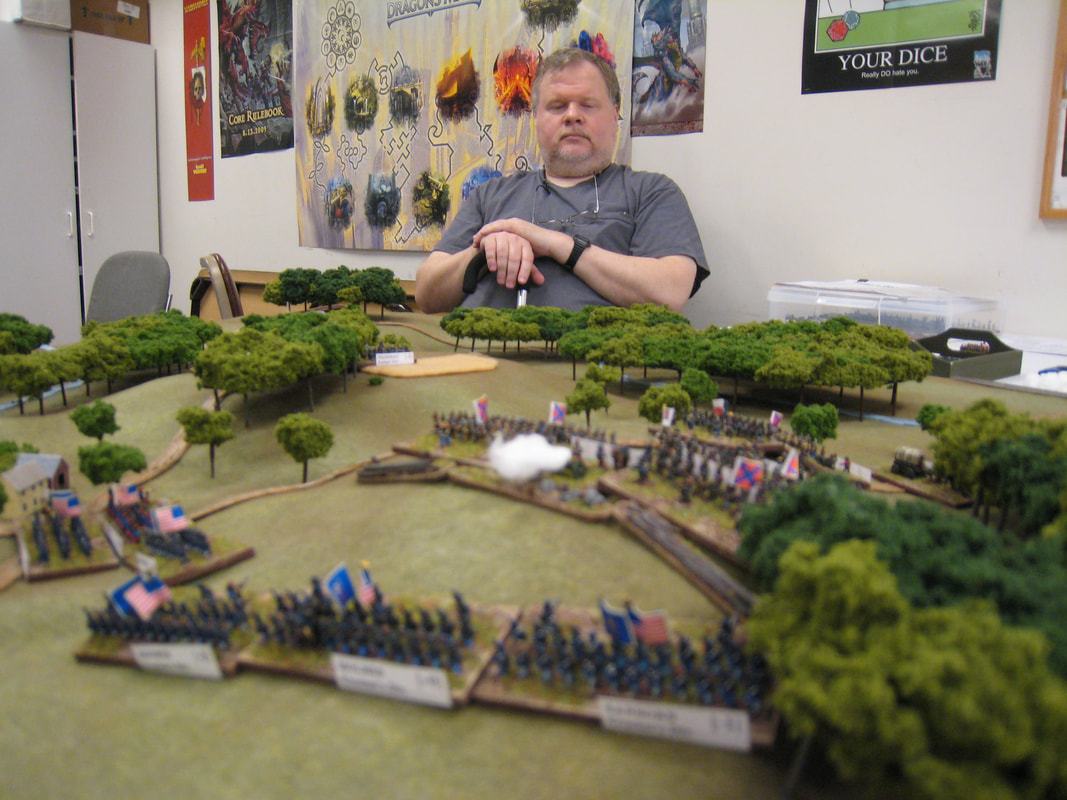
Phase #3: Paint & Final TouchesWait for the caulk to dry. At this stage, I like to add a few dabs of super-glue around the toothpicks to make sure they don't fall out or come loose from the caulk during gaming. On a few of my forts and entrenchments, I went the extra step of gluing down thin strips of paper to mimic the look of wooden floor boards. You can also glue down some areas of sand to texture the floor areas. After that, you simply need to paint. Some basic dry-brushing and a few small sections of flock make these fortifications stand out on a table and look great. All of my forts and trenches were built in a single afternoon.
While mine were built for a Petersburg scenario, they can serve you well in a number of Civil War engagements, including Atlanta, Spotsylvania, or Nashville. |
|