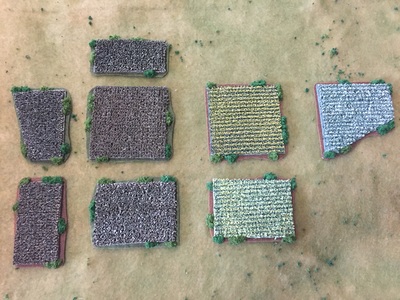
Phase #1: How to represent tiny Cornfields?One of the very first terrain projects I attempted to tackle when I started gaming the Civil War in 6mm scale was making cornfields. Fast-forward three years and I still had not found a satisfactory method to represent cornfields in this small scale.
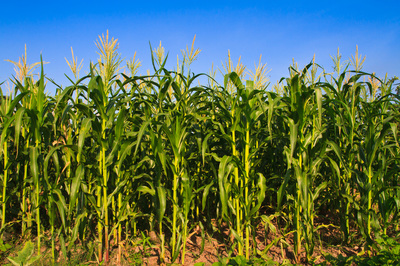
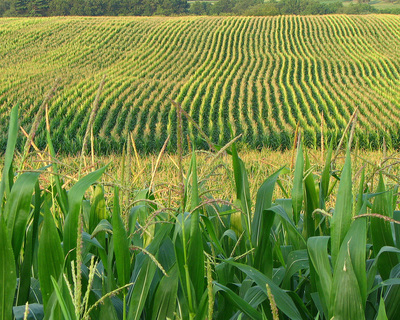
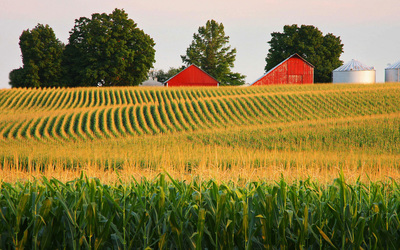
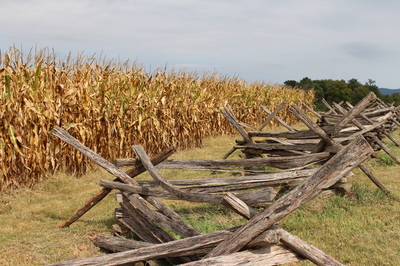
This may sound obvious at first, but the best way to begin is by looking at photos of actual cornfields. And when we talk about 6mm scale, you can't look at corn up close, as in the first photo to the right. You need to zoom out to a much wider view to notice that corn is neatly arranged in golden yellow rows that look like uninterrupted lines. At least, that's what it looks like in summer. If you want a cornfield for Antietam, fought in September, you should note that corn is brown and dead-looking by this time of year. |
Phase #2: The Key IngredientMany wargamers have tutorials and beautiful photos to model 28mm and 15mm cornfields, but nothing exists for 6mm. I tried at least a dozen different methods over the years until finally perfecting one that produces realistic, cheap cornfields. How cheap? Under $10 for all the cornfields you'll ever need!
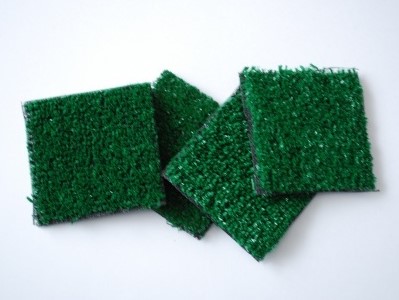
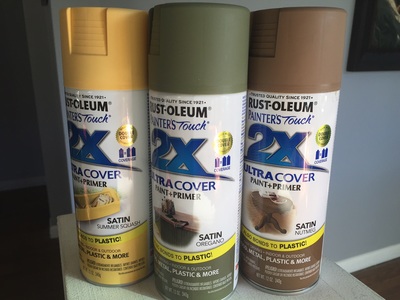
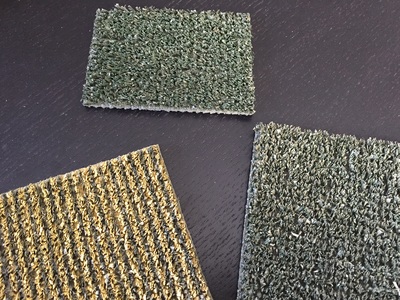
The key ingredient in this project is AstroTurf. That's right, the ugly green plastic stuff people sometimes use on their porch outside. You can find 4" squares of FREE AstroTurf samples at Home Depot or Lowe's. I took a handful of them from my local Home Depot. You will also require some suitable shades of green and yellow spray paint. |
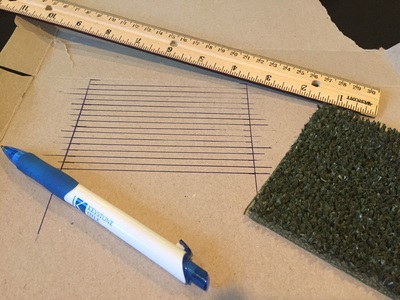
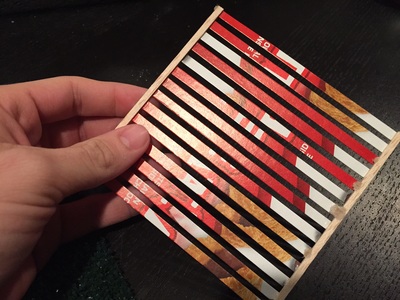
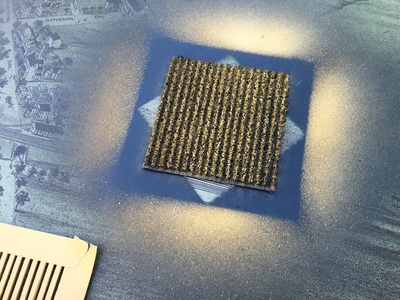
Phase #3: Assembling the StencilThis step in the process eluded me for years. In many past attempts at modeling tiny cornfields, I hand-painted rows of corn or simply dry-brushed the top of the AstroTurf (along with many other types of fabric I ruined). The result was never entirely satisfactory. To get the bold, distinct lines you need, you'll have to create a stencil.
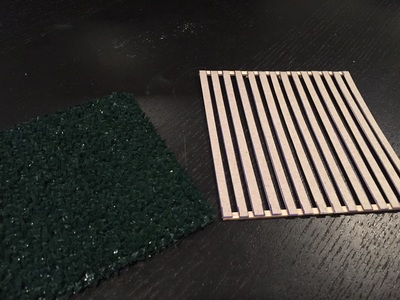
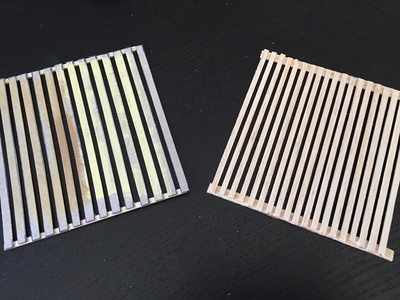
My first few stencils were made with cereal boxes, but these proved too flimsy. Finally, I built a stencil with thin balsa wood, just large enough to cover the 4" square of AstroTurf. You can use whatever scrap balsa you have available, but make sure the rows are tight together, but still wide enough to take spray paint clearly. |
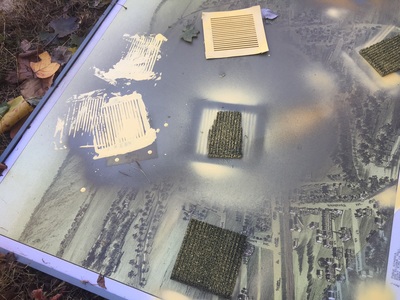
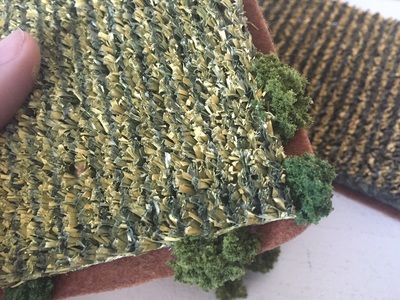
Phase #4: PaintingSpray paint the AstroTurf a suitable shade of green (you may need to experiment with a few colors). I used Olive and found the result perfect. Be liberal with the paint and make sure the field is fully covered. After it dries, lay your stencil on top and blast it with golden yellow. When you remove the stencil you should be left with a neat series of clean, yellow lines just like a cornfield. If you mess up a few times, it's easy to go back and try again by painting over everything with your base color green again.
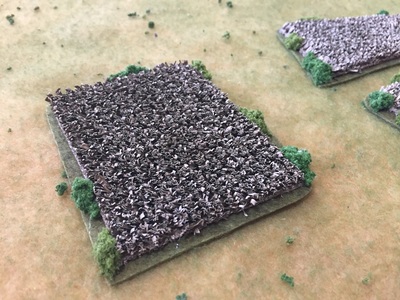
***Fall Corn: The process is even easier if you want to represent cornfields in the Fall, when they look dead. No stencil is required for this--just spray paint the AstroTurf light brown and dry-brush with a lighter shade of tan. |
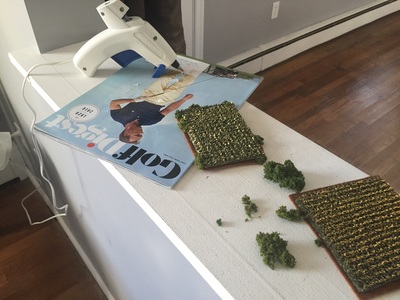
Phase #5: Finishing TouchesYou could elect to stop now and just use the cornfields you've made so far, but a few extra steps can give you a more realistic product. I used a hot glue gun to attach my cornfields to brown felt, leaving a small amount of the brown visible around the edges. This gives the look of a dirt edged field, and also provides a surface to glue on little bits of Woodland Scenics clump foliage. I hot glued a few scraps of foliage around the edges to dress up the field borders. Because I like to use Woodland Scenics clump foliage on almost all my terrain projects, it also ties my cornfields visually to the rest of my terrain items. You should be able to produce all the cornfields you need with one stencil, two cans of spray paint (and a little cheap, brown felt if you go the extra mile).
|
